

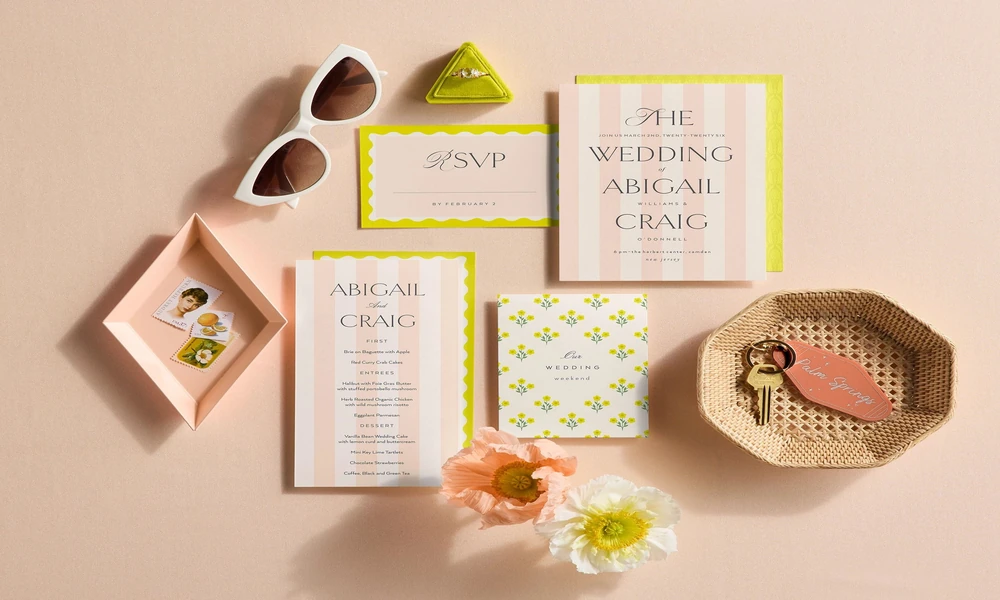
Ordering custom wedding invitations sounds intimidating until you actually do it. Most couples imagine complicated consultations, endless decisions, and mysterious pricing. The reality is a simple, enjoyable process that can happen entirely online, and knowing the steps ahead of time makes it even smoother.
Here is exactly how custom invitation design works, from the first spark of an idea to the finished stack of invitations arriving at your door.
Step 1: Gather Your Inspiration
Before contacting a designer, spend a little time collecting what you love. Save invitation designs that catch your eye, screenshots of color palettes, photos of your venue, and anything else that captures the feeling you want. Pinterest boards are perfect for this, and so is a simple folder of saved images.
Do not worry about finding one perfect example. Designers are skilled at spotting the common thread across your inspiration, even when you cannot articulate it yourself. Three saved designs that feel completely different to you often share an obvious quality to a trained eye, such as airy layouts, botanical elements, or a certain style of script.
Know your basics too: wedding colors, the overall vibe (formal, rustic, modern, romantic), and roughly how many invitations you need. Count households, not guests, and add ten to fifteen extras for keepsakes, last-minute additions, and the inevitable addressing mistake.
Step 2: Choose Your Format and Paper
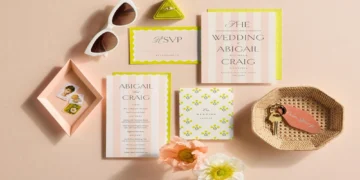
Custom invitations come in several formats, with the classic 5×7 flat card being the most popular. Printing on both the front and back doubles your design space, leaving room for details, photos, or decorative artwork on the reverse side.
Paper is where quality quietly announces itself. A premium matte card stock in a heavy 130# / 16-pt weight has a substantial, luxurious feel the moment a guest pulls it from the envelope. Couples wanting extra glamour can explore upgrades like gold foil printing or shimmering pearl paper, which catch the light beautifully for formal and evening weddings.
Think about companion pieces at this stage as well. RSVP cards, detail inserts, and thank you cards designed alongside your invitation create a matching suite, and ordering together is easier than matching pieces later.
Step 3: Nail Down Your Wording
Wording trips up more couples than design does, but it follows reliable patterns. A traditional invitation includes the host line (often the parents’ names), the request line, the couple’s names, the date and time written out, the venue, and reception information. Modern couples hosting their own weddings often simplify to something warm and direct.
The joy of custom invitation design is that your wording leads and the layout follows. Long family names, bilingual text, blended family arrangements, and religious phrasing all fit gracefully because the designer builds around your words instead of forcing them into a fixed template. If you are unsure where to start, wording guides with dozens of examples can be adapted to nearly any situation.
Step 4: Work with Your Designer
Now the fun begins. Share your inspiration, colors, wording, and preferences, and your designer creates a custom proof. This is a genuine collaboration, so be honest with your feedback. If the font feels too formal or the flowers are the wrong shade, say so. Designers want the revision notes, and each round gets the design closer to exactly right.
The best part of the modern process: reputable studios do not require payment until your design is approved and ready to print. You see precisely what you are getting before spending anything, which takes all the anxiety out of ordering custom.
Step 5: Approve, Print, and Mail
Before giving final approval, proofread everything twice, then have someone uninvolved in planning read it fresh. Check the date against a calendar, confirm the venue spelling, and verify every time and address. Once approved, your invitations move to printing and ship to your door, with free shipping softening the final bill at many studios.
Plan to mail invitations six to eight weeks before the wedding, or ten to twelve weeks for destination weddings. Add envelope address printing to your order and you will skip hours of handwriting while giving every envelope a polished, cohesive look. Free white or cream envelopes typically come included.
Your Invitation, Your Story
Custom wedding invitations are not about extravagance. They are about accuracy, making sure the first thing guests see truly matches the celebration you are creating. Follow these five steps, trust the collaboration, and the invitation that arrives in your guests’ mailboxes will be unmistakably, perfectly yours.




Discussion about this post